How to design a restaurant menu step by step
A practical, ordered method to design a restaurant menu: audit the dish list, pick the format, set the type, place prices, proof and prepare print files in eight steps.
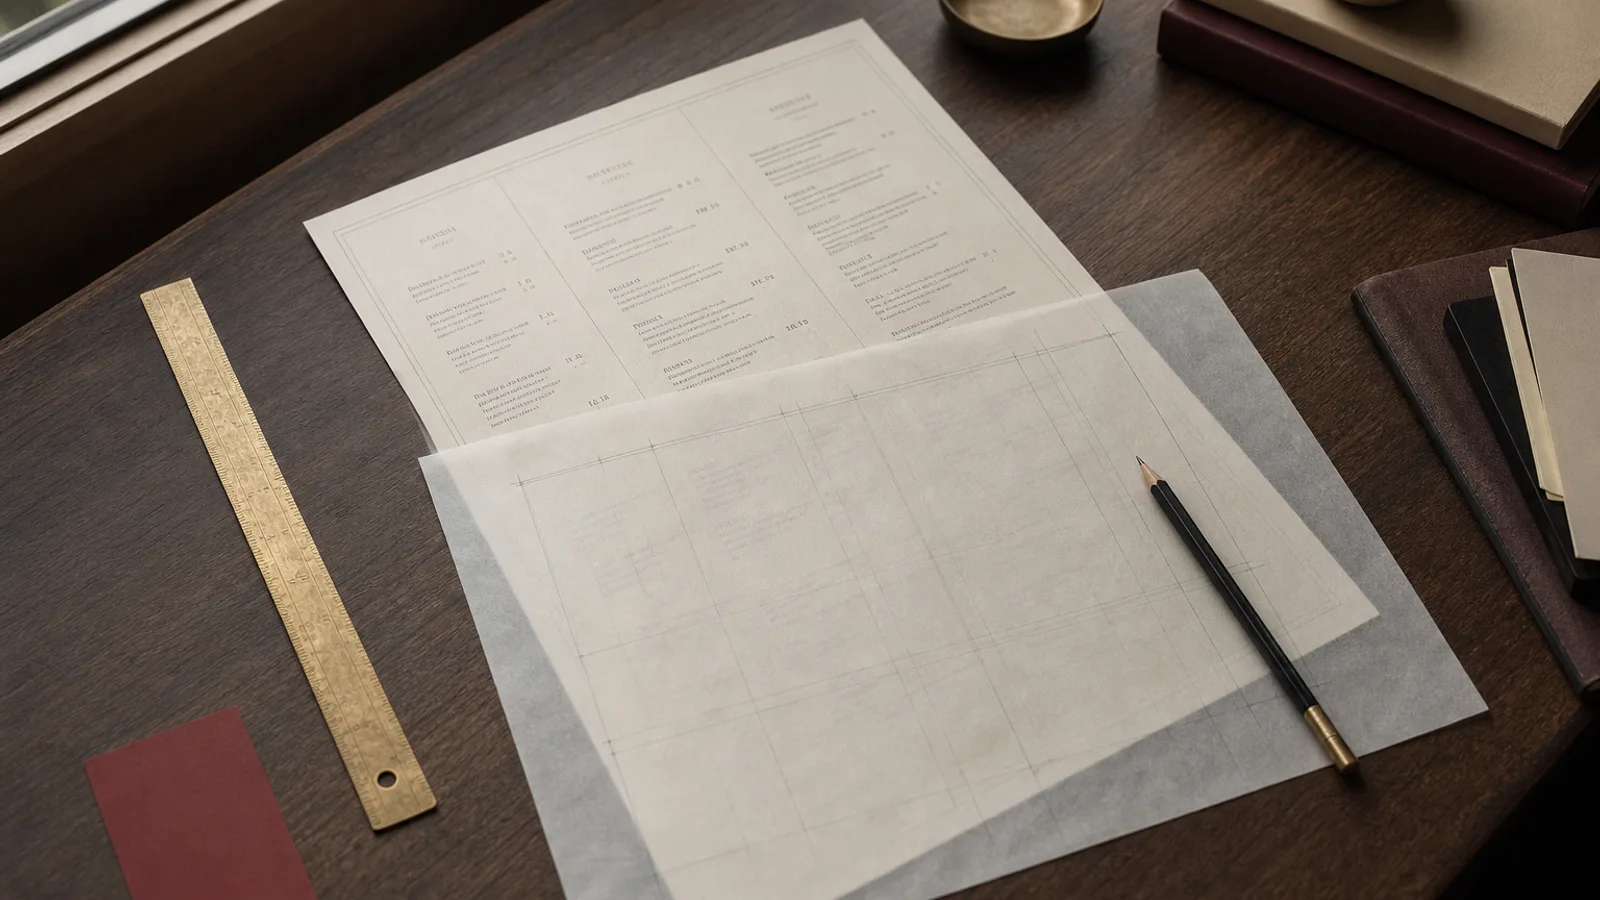
Most menus are designed backwards: someone opens a template, pastes the dishes in, and spends three evenings nudging boxes until it fits. The result works, roughly, until the next price change. The method below is the one a professional follows, and it is deliberately front-loaded: the first three steps involve no software at all. Follow them in order and the actual layout takes an afternoon rather than a week.
Step 1: audit the dish list before you design anything
Print your current list and go through it with a pen. For each dish, note three things: how often it sells, its margin in euros (not percent), and whether the name is understandable without explanation. You are looking for the items that sell rarely and earn little. Cut them or park them on a specials board. A menu of 22 to 30 dishes is easier to lay out, easier to cook and easier to read than one of 45.
Then fix the copy. Dish names of two to five words, descriptions of eight to fifteen words listing the main components, no adjectives that do not describe a technique or an origin. This is also the moment to decide on allergen codes, because they take space and must be planned for under EU Regulation 1169/2011.
Step 2: choose the format from the word count
Count the words on your cleaned-up list. Up to about 350 words fits an A4 single sheet at 10.5 pt with generous spacing. Between 350 and 700 words wants an A4 double-sided or an A5 bifold with four faces. Beyond that you are into a multi-page booklet, which is a different project with a different budget. Do not fight the count. If the words do not fit the paper, change one of the two.
Consider handling as well. A single sheet in a sleeve lives longer in a fast-turnover bistro; a bifold on 350 g board feels right for a dinner service where the menu stays on the table. Formats in the ISO 216 family (A4 210 × 297 mm, A5 148 × 210 mm) print cheaply everywhere in Europe; odd sizes cost more and waste paper.
Step 3: settle the brand inputs
Gather the logo as a vector file, the exact brand colours as CMYK values, and any photos you intend to use at a minimum of 300 dpi at the printed size. A 1200 px wide photo prints cleanly at about 10 cm, not more. If your only logo is a screenshot from Instagram, stop and get the original; a blurry logo undermines everything else on the page.
Write one sentence describing the mood, in the words you would use to a friend: warm neighbourhood trattoria, sharp cocktail bar, calm Japanese counter. That sentence guides every subsequent choice, from typeface to paper finish, and it stops the design from drifting toward a generic look.
Step 4: build the type system
Two typefaces, at most three sizes each. A common working set for an A4 dinner menu:
- Section headings: 14 to 18 pt, in the display face or in small caps of the text face.
- Dish names: 11 to 13 pt, medium or semibold weight of the text face.
- Descriptions: 9.5 to 11 pt, regular weight, often in italic or a lighter grey (70 to 80 percent black, never lighter).
- Prices: same size as dish names, same weight or one step lighter, tabular numerals so the digits align.
- Legal notes and allergen legend: 7 to 8 pt, one block, bottom of the last face.
Set leading (line spacing) at 120 to 135 percent of the type size for descriptions. Tighter than that and multi-line descriptions become a grey slab; looser and the dish name detaches from its own description.
Step 5: lay out the grid and place the sections
Set margins first: 12 to 15 mm on A4, 10 to 12 mm on A5, with an extra 3 to 5 mm on the side that meets a fold. Decide on one or two columns. Then place sections in meal order, with the item you most want to sell at the top of the first face's main block or the upper right of a bifold spread. Each section gets more space above its heading than below, so the heading visibly belongs to what follows.
Give the page room to breathe. A layout that fills 70 to 80 percent of the surface with type and leaves the rest as margin and section gaps looks intentional. One that fills 95 percent looks like a spreadsheet.
Step 6: place prices consistently
Pick one convention and apply it everywhere: right-aligned in a column, or trailing the description. Same decimals throughout, either whole numbers or two decimals with the local separator (14,50 in France, Italy and Spain). Drop the euro sign if the currency is obvious and the page is cleaner without it. Never bold the prices; the dish is what you are selling.
Step 7: proof on paper, at size, in the room
Print the draft on your office printer, trim it to size, and take it to the dining room in the evening with the lights as they are during service. Read it seated. If you squint at the descriptions, go up half a point. Have a colleague who has not seen it find three dishes and their prices while you time them. Then read every line for typos and check that every price matches the till.
Check colour too. Office printers are not calibrated, but a menu that looks muddy on a cheap laser will not look good on coated board either. Deep backgrounds in particular need checking; a rich navy on screen often prints as a dull blue-grey without proper CMYK values.
Step 8: prepare the print files
- Export a PDF at 300 dpi with fonts embedded or outlined.
- Add 3 mm bleed on all sides and include crop marks.
- Convert colours to CMYK using a standard profile such as Fogra39 (ISO Coated v2) for coated papers.
- Keep text at least 5 mm from the trim edge and 5 mm from any fold.
- Check that the total ink coverage of dark backgrounds stays under about 300 percent to avoid drying problems.
- Name the file with the version and date so nobody prints the previous menu.
What the method gives you next season
The first pass through these eight steps is the expensive one. Once the format, type system and grid exist, a seasonal update is step one and step seven only: revise the list, drop in the new dishes, proof and export. That is a two-hour job, not a new design. Menu Atelier compresses steps four to eight: you paste the dish list, upload the logo and a few photos, describe the mood, and the layout is generated with the type hierarchy and price convention already applied. You can then rotate it in 3D, switch from A4 sheet to A5 bifold in a click, and export a print bundle with bleed, crop marks and CMYK handled for you.