15 menu design mistakes that cost restaurants money
The fifteen most common restaurant menu design mistakes, from tiny type and bold prices to missing bleed and RGB colours, with the concrete fix for each one.
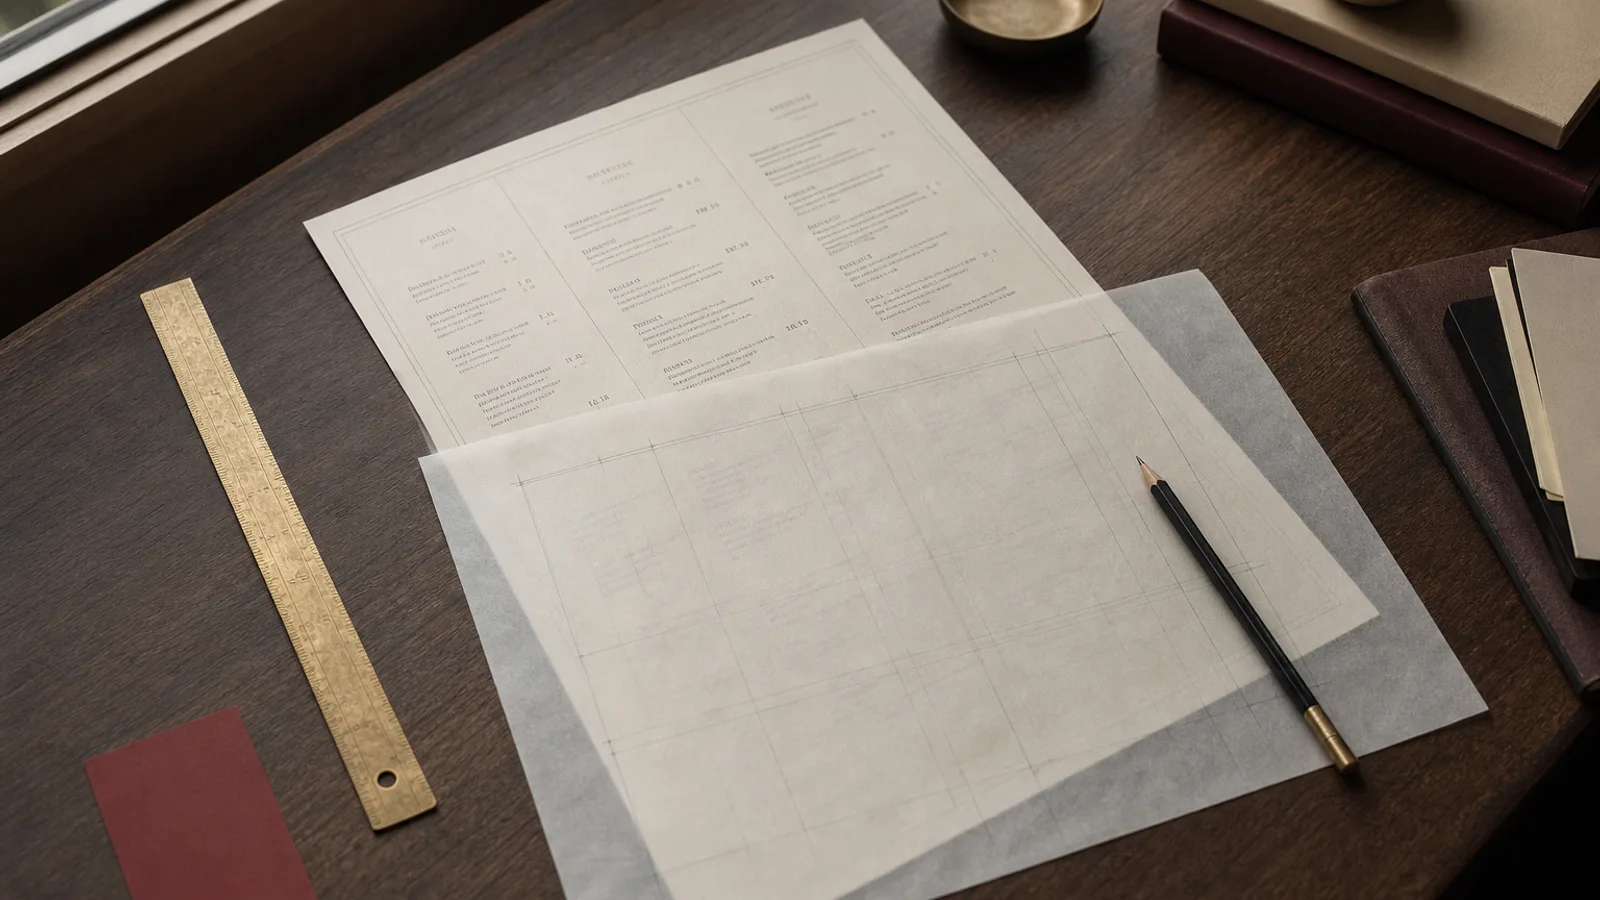
Every menu that crosses a prepress desk has at least two of these problems, and most have five. None of them is exotic. They are the ordinary shortcuts of someone who had to get a menu out by Friday, and each one either slows the guest down, nudges them toward a cheaper dish, or produces a box of printed cards that go straight into recycling. The list below is grouped by where the damage happens: reading, selling, and printing. Each mistake comes with the fix a designer would apply.
Mistakes that make the menu hard to read
1. Type below 9 pt for anything a guest must read
Dinner menus are read seated, in warm light, often by people over forty-five. Descriptions at 8 pt look tidy on screen and unreadable at the table. Body text belongs at 10 to 12 pt, dish names at 11 to 13 pt. If it does not fit, the list is too long or the format is too small.
2. Light grey text to look elegant
A 50 percent grey description on cream paper under 2700 K bulbs disappears. Keep text at 70 to 80 percent black at minimum, or use a dark brown or navy if pure black feels harsh.
3. Centred descriptions across a wide measure
Centred text is fine for a seven-line tasting menu. For thirty dishes with descriptions on A4 it forces the eye to hunt for the start of every line. Left-align, and keep lines to 45 to 75 characters.
4. Headings that are not clearly headings
A section title in the same size as the dish names, with equal space above and below, floats. Headings need to be at least 1.4 times the body size or in a contrasting face, with roughly twice as much space above as below.
5. Too many typefaces
Three fonts plus a script for the logo plus bold and italic of each is eight voices talking at once. Two families, three sizes each, is enough for any menu.
Mistakes that push guests toward the wrong dishes
6. Prices in bold or in a colour
Emphasising the price asks guests to shop by number. Set prices in the same weight as the dish name or one step lighter, same colour, tabular numerals.
7. Dotted leaders on every line
Leaders line prices up into a column that invites comparison down the page. They suit a classic bistro card; on most other menus, a right-aligned price without a leader, or a price trailing the description, sells the dish rather than the figure.
8. Forty-plus items with no hierarchy
A long, undifferentiated list makes guests default to what they know. Cut low-margin slow sellers, group the rest into five to seven sections, and give the two or three dishes you most want to sell a little more space or a short description.
9. The best dish buried at the bottom left
The eye lands top right on a spread and top left on a single sheet. The bottom left corner of a bifold is where menus go to be ignored. Put the signature dish where the eye arrives, not where the list happened to end.
10. Descriptions that describe nothing
Delicious, homemade, mouth-watering and chef's special take space and add no information. A description should list two to four components, a technique or an origin. Bresse chicken, tarragon jus, roasted shallots says more in six words than a sentence of adjectives.
Mistakes that ruin the print run
11. No bleed on elements that touch the edge
Trimming tolerance is about 1 mm. A background that stops exactly at the trim line leaves a white sliver on one side of every second menu. Extend any edge-touching colour or image 3 mm beyond the trim and keep text 5 mm inside it.
12. RGB colours and screen blacks
A bright RGB red or blue has no CMYK equivalent and prints dull. Convert to CMYK with a standard profile such as Fogra39 for coated board. Build large black areas as a rich black (for example C60 M40 Y40 K100), and keep small black text as K only so registration cannot fringe it.
13. Low-resolution logos and photos
A logo saved from a website at 400 px wide prints soft at 3 cm and blurry at 6 cm. Use the vector file. Photos need 300 dpi at final size: a 10 cm wide photo needs at least 1200 px.
14. Text across the fold
On a bifold the fold is not a neutral line; it is a shadow and a crease that swallows anything within 3 to 5 mm. Nothing important sits there, and the inner margin gets an extra 3 to 5 mm compared with the outer one.
15. Skipping the printed proof
Everything above is caught by one action: print the file at real size, trim it, fold it and read it in the dining room in the evening. Then check every price against the till. A proof costs a few euros and ten minutes; 200 menus with a typo in the fish course cost a great deal more.
A quick self-check before you send anything to print
- Smallest body text 10 pt or larger, text colour at least 70 percent black.
- Two typefaces, headings at least 1.4 times the body size, more space above than below.
- Prices in the same weight and colour as dish names, consistent decimals throughout.
- Signature dishes placed where the eye lands first.
- 3 mm bleed, 5 mm safe zone, no text within 5 mm of a fold.
- All colours CMYK, all images 300 dpi at final size, logo as vector.
- One printed, trimmed, folded proof read at the table.
Most of these are systemic, so fix them once
Very few of these mistakes are matters of taste. They are defaults that were never set: a type size, a price convention, a bleed, a colour profile. Fix them in the template once and every seasonal update inherits the fix. In Menu Atelier the generated layouts start from those defaults, with legible type sizes, unemphasised prices and section hierarchy built in, and every export ships as a 300 dpi CMYK PDF with 3 mm bleed and crop marks already added, so the printing mistakes on this list simply do not reach the press.