Restaurant menu layout: structure, hierarchy and flow
How to structure a restaurant menu so guests read it in the right order: sections, reading path, columns, price placement and the layout mistakes that slow down ordering.
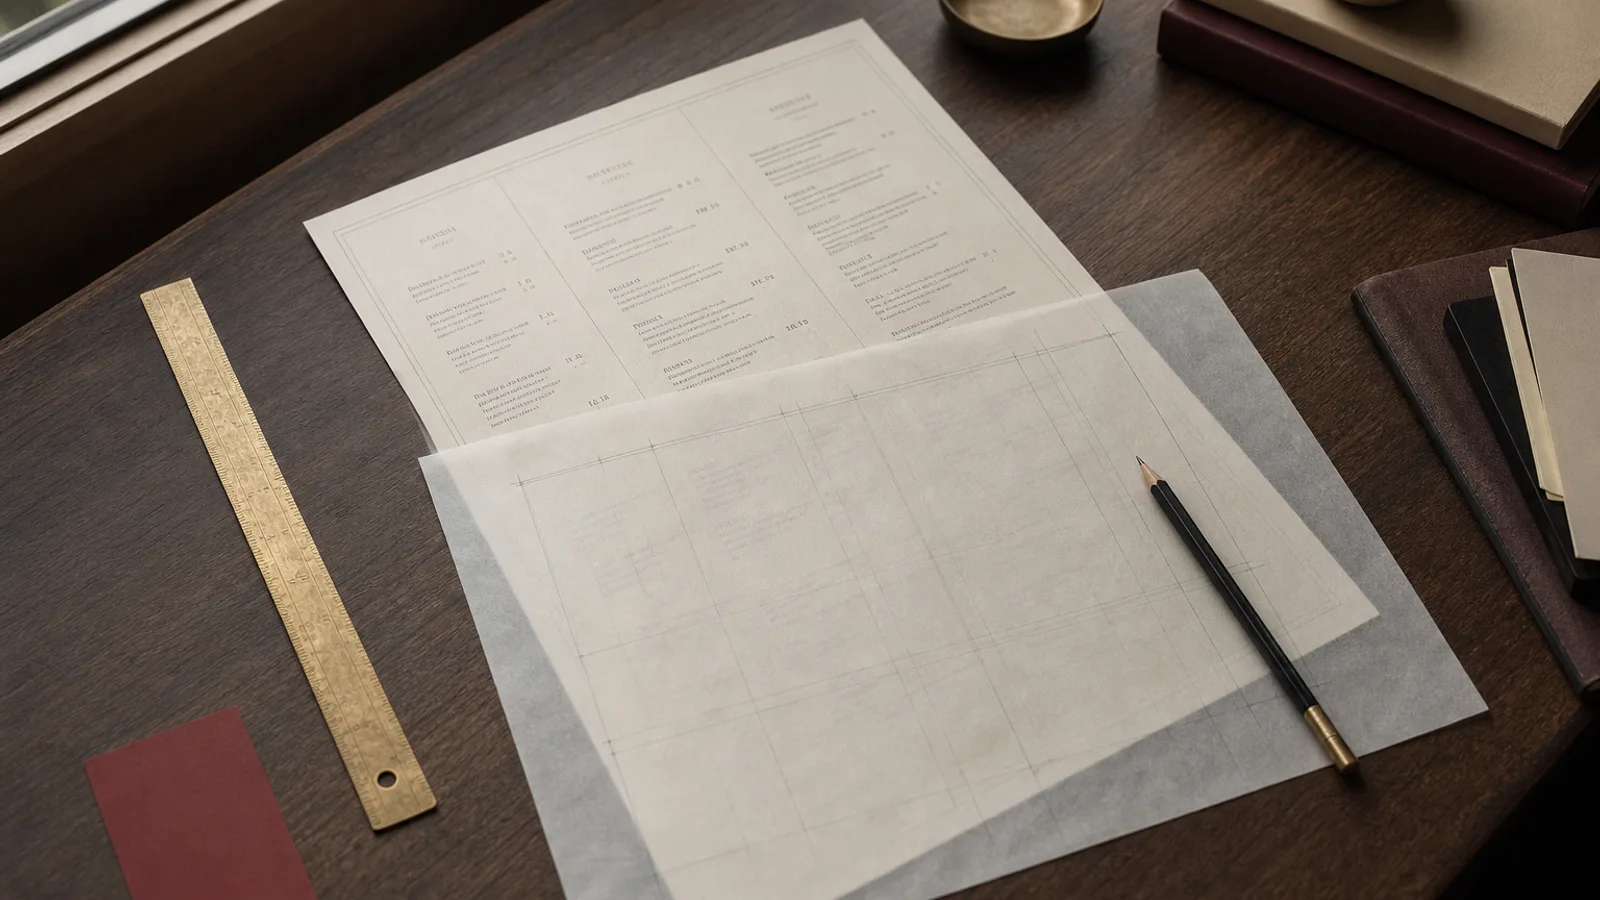
A guest holds a menu for about ninety seconds to two minutes before the server comes back. In that window they need to find the section they care about, compare three or four dishes, register the prices and decide. Layout is the set of decisions that makes those two minutes easy or frustrating. This guide walks through the decisions in the order a designer takes them: format, sections, reading path, columns, prices, and the checks to run before sending anything to print.
Start from the format, not from the dishes
The single most common layout mistake is writing the menu first and choosing the paper afterwards. Do it the other way round. An A4 sheet (210 × 297 mm, ISO 216) held at a table comfortably carries 25 to 35 items with descriptions. An A5 bifold gives you four faces of 148 × 210 mm, which reads as a small book and suits a longer list with drinks on the back. A single A5 sheet is a lunch card or a dessert card, not a full dinner menu.
Count your items and your words per item honestly. Forty dishes with two-line descriptions will not fit on A4 at a readable size, no matter how good the designer is. Either cut the list or move to a bifold. Type below 9 pt on a dinner menu read in low light is a real problem for anyone over forty-five, and that is a large part of your customers.
Sections follow the meal, not the kitchen
Guests read a menu in the order they will eat. Starters, mains, sides, desserts, drinks. Kitchens sometimes want to organise by station or by protein; resist that unless your concept is explicitly built around it, like a grill house listing by cut. Five to seven sections is the comfortable range. Fewer and the list feels undifferentiated, more and guests spend their time decoding your taxonomy instead of choosing dinner.
Each section needs a heading that is unmistakably a heading: larger, heavier or in a contrasting typeface, with more space above it than below it. A heading set at 14 pt bold with 8 mm of space above and 3 mm below reads as a break. The same heading with equal spacing above and below floats between two groups and belongs to neither.
Design the reading path, then check it
On a single page, most Western readers enter at the top left, sweep across, drop down the left side and finish bottom right. On a bifold, the eye lands first on the upper part of the right-hand page, then moves to the top left. Cornell's menu research popularised the idea of a sweet spot in that area; the studies are more nuanced than the diagrams that circulate, but the practical lesson holds. Put what you most want to sell where the eye lands first, and never fill that spot with the bread basket.
Once the draft exists, test the path. Print it at real size, hand it to someone who has never seen it and ask them to find the fish main and its price. Time them. If it takes more than ten seconds, the hierarchy is wrong. This test costs nothing and catches more problems than any design rule.
One column, two columns, or a grid
A single column on A4 gives long, calm lines and suits menus with descriptions. It also wastes width if the dish names are short; a line of 190 mm for a two-word dish and a price looks empty. Two columns work well for drinks, tapas, pizzas and any list of short items without descriptions. The rule of thumb is a measure of 45 to 75 characters per line for descriptive text; beyond that the eye loses its place on the return.
Margins do a lot of work. On A4 leave at least 12 to 15 mm on all sides, and remember that on a bifold the inner margin needs 3 to 5 mm extra so text does not disappear into the fold. Align everything to the same left edge within a column. Misaligned prices and descriptions are the fastest way to make a menu look homemade.
Where the price goes
There are three honest options for prices, and one you should avoid.
- Right-aligned with dotted leaders: the classic bistro look. Easy to scan, but it invites price comparison down the column and pushes guests toward the cheapest option.
- Right-aligned without leaders: cleaner, still scannable, and the standard for brasseries and modern casual places.
- Nested after the description in the same weight, without a currency symbol: the fine-dining approach. Prices are found, not displayed, and guests choose on the dish first.
- Prices in bold or in a different colour: avoid. You are asking guests to read the numbers before the food.
Whichever you pick, be consistent across the whole menu. Use the same number of decimals everywhere, either 14 or 14,00, never a mix. The euro symbol is optional in most European markets once the currency is obvious; many designers drop it because a column of symbols adds visual noise.
Legal text and allergens without ruining the page
In the EU, Regulation 1169/2011 requires you to inform guests about the 14 listed allergens. You can do this with codes next to each dish and a legend, with a note that staff can provide the information, or with a separate allergen sheet, depending on how your country transposed the rule. Design-wise, small superscript letters in 6 to 7 pt after each dish name read fine and keep the page clean. A dense legend belongs at the bottom of the last face, in a lighter grey, not next to the desserts.
The same goes for service charge, cover charge in Italy, and origin statements for meat: mandatory, small, grouped in one place, set in the same typeface as the body.
A pre-press checklist for the layout
- Body text at 10 to 12 pt for descriptions, 11 to 13 pt for dish names, headings at least 1.4 times the body size.
- Margins of 12 mm or more, plus 3 mm of bleed on any element that touches the edge.
- Consistent decimals and alignment for every price.
- One reading path tested on a printed proof by someone outside the team.
- Allergen codes and legal notes present, small and grouped.
- Nothing important within 5 mm of a fold.
Layout is a system you can reuse
Once the spacing, the column widths and the price convention are settled, the layout becomes a template. Seasonal changes then mean swapping dishes, not redesigning. That is the real payoff: a menu you can update in an afternoon without calling a designer. In Menu Atelier the layout is generated from your dish list and brand assets, then you can switch the same design from A4 single sheet to A5 bifold in one click and check the reading path on a 3D preview before exporting the print files with bleed and crop marks already in place.