From spreadsheet to printed menu in an afternoon: a realistic timeline
An afternoon plan for turning a dish spreadsheet into a print-ready restaurant menu: clean the data, brief, generate, proof, export and order print.
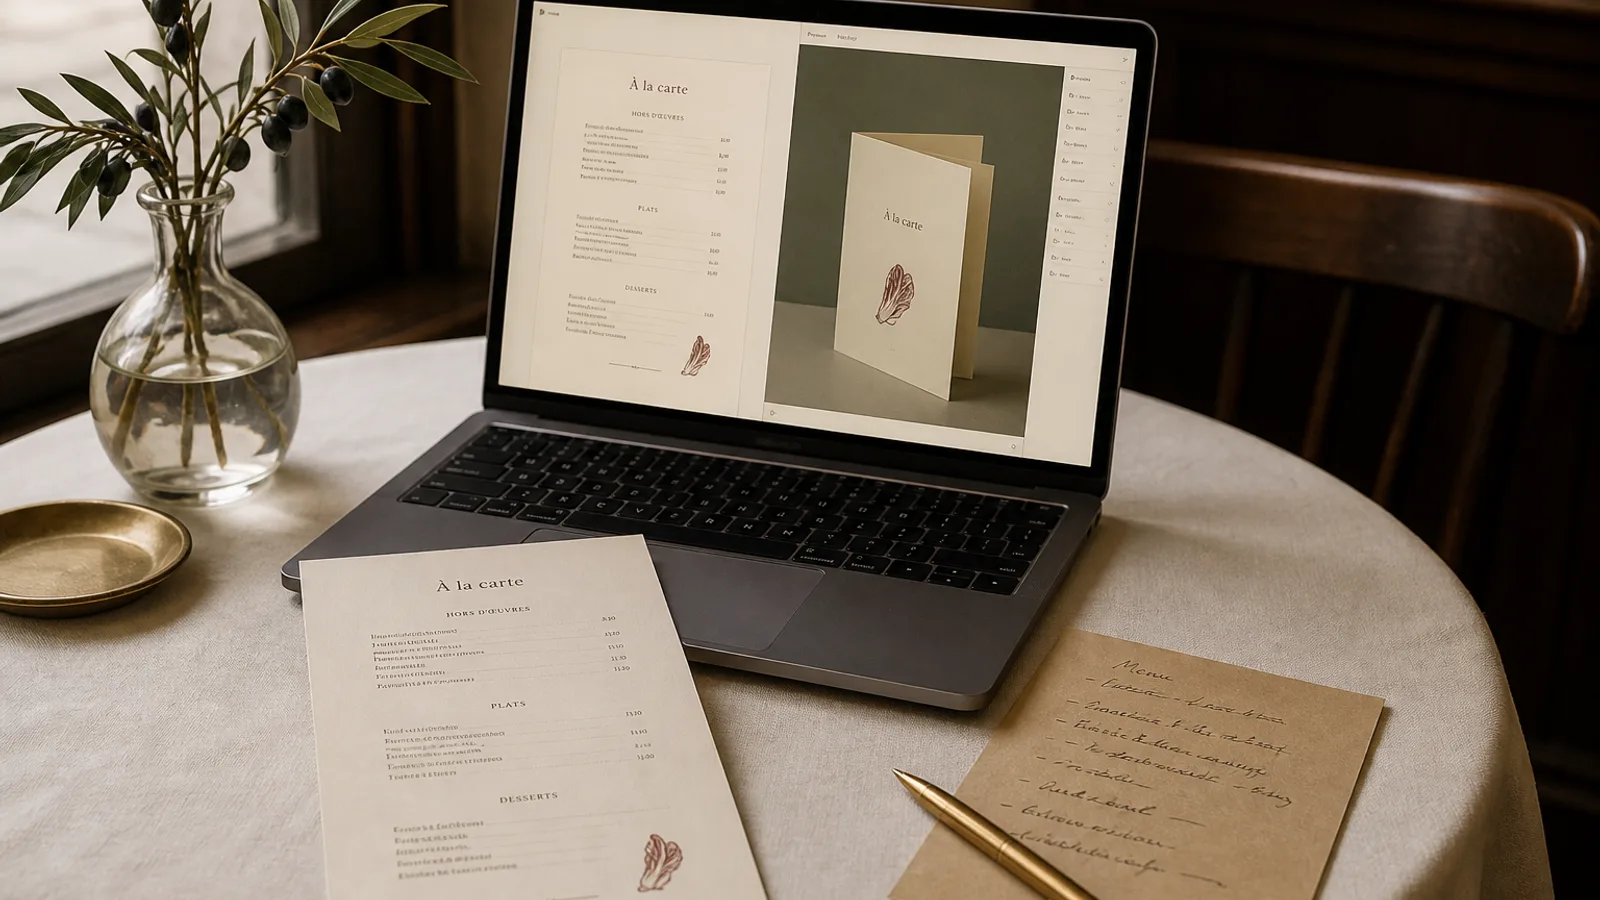
Most restaurants already have their menu in a spreadsheet: a column of dishes, a column of prices, sometimes a column of descriptions typed by whoever was on shift. What they do not have is a path from that spreadsheet to a menu they would be happy to hand a guest, and the gap is usually filled by a cousin with a design programme, three weeks of back-and-forth and a file nobody can edit afterwards. Here is a realistic plan for doing it in one afternoon, roughly four hours from opening the spreadsheet to having print files or a print order placed, with the time budget for each step.
Hour one: clean the spreadsheet
Everything downstream depends on the data being clean, and this is where most of the afternoon's value is created. Open the sheet and make four columns: section, dish name, description, price. Add a fifth for allergens if you do not already have one, using the 14 EU allergen categories from Regulation 1169/2011 as your vocabulary, and a sixth for any dietary marker you print (vegetarian, vegan).
- Fix capitalisation once: decide whether dish names take an initial capital only or capitals on every word, and apply it to every row.
- Trim descriptions to one line where possible, 8 to 14 words. Cut adjectives, keep ingredients and technique.
- Make every price a number in the same format: 12 or 12.50, never 12,5 in one row and 12.50 in the next.
- Delete anything you have not sold in a month; it is not going on the new menu anyway.
- Order the rows in the order guests read: sections in menu order, dishes within a section from light to rich or cheap to expensive, whichever you intend.
Budget 45 to 60 minutes. It feels slow. It saves two hours of corrections later, because every error in the sheet appears on every version of the menu.
Twenty minutes: gather the brand pieces
You need three things: a logo file (vector if you have it, a high-resolution PNG if not), two to five photographs of the room or your food that represent how the place actually looks, and one or two sentences about the mood. Do not spend this time hunting for the perfect image; you need enough for the palette and the tone, not a photo essay. If the logo only exists on a sign outside, a clean, straight photograph of it will do for a first pass and you can replace it later.
Write the mood sentence now, while you are looking at the photos. Name the materials in the room, the way staff talk to guests, how many dishes need to fit and one thing you refuse. That sentence drives the design more than anything else you will do this afternoon.
Thirty minutes: generate and choose a direction
Paste the dish list, upload the logo and photos, enter the brief, and pick a format. If you are unsure, start with A4 double-sided for menus over 25 dishes and A5 bifold for menus under 25. Generate. Look at the first result for direction, not detail: is the type family right for the room, is the density right, does the palette belong to your brand. Adjust one thing in the brief and generate again. Three to five generations is normal; if you are past eight, go back to the brief and add the missing material or constraint.
Turn the result in 3D and look at it the way a guest would: closed, then opened, then held at arm's length. A layout that looks fine flat often reveals a heavy spine or a cramped inside fold when you see it as an object.
Forty minutes: proof like a printer
This is the step people skip and regret. Read every line against the spreadsheet: names, descriptions, prices, allergen markers. Check that no dish has wrapped awkwardly to a second line with a single word, that no section starts at the bottom of a page with one dish, that the prices align. Check the legal lines: allergen key, service charge statement if required, any origin declarations your country requires for meat.
Then print one copy on your office printer at 100 percent, take it into the dining room and read it under the actual lighting at the actual table distance. Type that reads well on a screen at 40 cm can fail at 9.5 pt under warm 2700 K bulbs. If you have to squint, go up half a point and reflow.
Fix in the editor, not by regenerating
Everything you find in proofing is an edit: a description too long, a price wrong, a section that should move to the other face. Make the edit and let the layout reflow. Do not regenerate; you would lose the design decisions you just approved.
Twenty minutes: export or order
You have two exits. If you have a local printer you trust, download the print bundle: a PDF at 300 dpi with 3 mm bleed and crop marks, in CMYK, plus PNGs per face for your website and social media. Send the PDF with a note of the paper you want (300 to 350 g matte board is the standard answer for menus that will be handled nightly) and ask for one proof copy before the run.
If you would rather not manage a printer, order the printed menus directly: 99 € for the design plus 10 € per copy, on 350 g matte board with a soft-touch finish and a scored fold on bifolds, delivered across the EU in 5 to 8 working days. For a 40-cover restaurant, 25 to 30 copies covers the room with spares; for a lunch menu that changes weekly, 15 copies and a reprint each Monday.
What you have at five o'clock
A clean dish spreadsheet that is now your menu's source of truth, a design that fits your room, a proof you have read in the dining room, and either print files in hand or a print order on its way. Next month, when a price changes, the whole cycle is fifteen minutes: edit the line, check the reflow, reorder. That is the real gain of the afternoon; not the first menu, but every menu after it.
In Menu Atelier, the spreadsheet step is a paste: dishes, descriptions and prices land as sections you can reorder, the brief is one sentence, the 3D preview is built in, and the print bundle or the print order are the two buttons at the end.