Shooting dish photos with a phone: a menu-ready guide
How to photograph your dishes with a phone so they survive print: light, angle, background, camera settings, export size and the checks a prepress operator runs first.
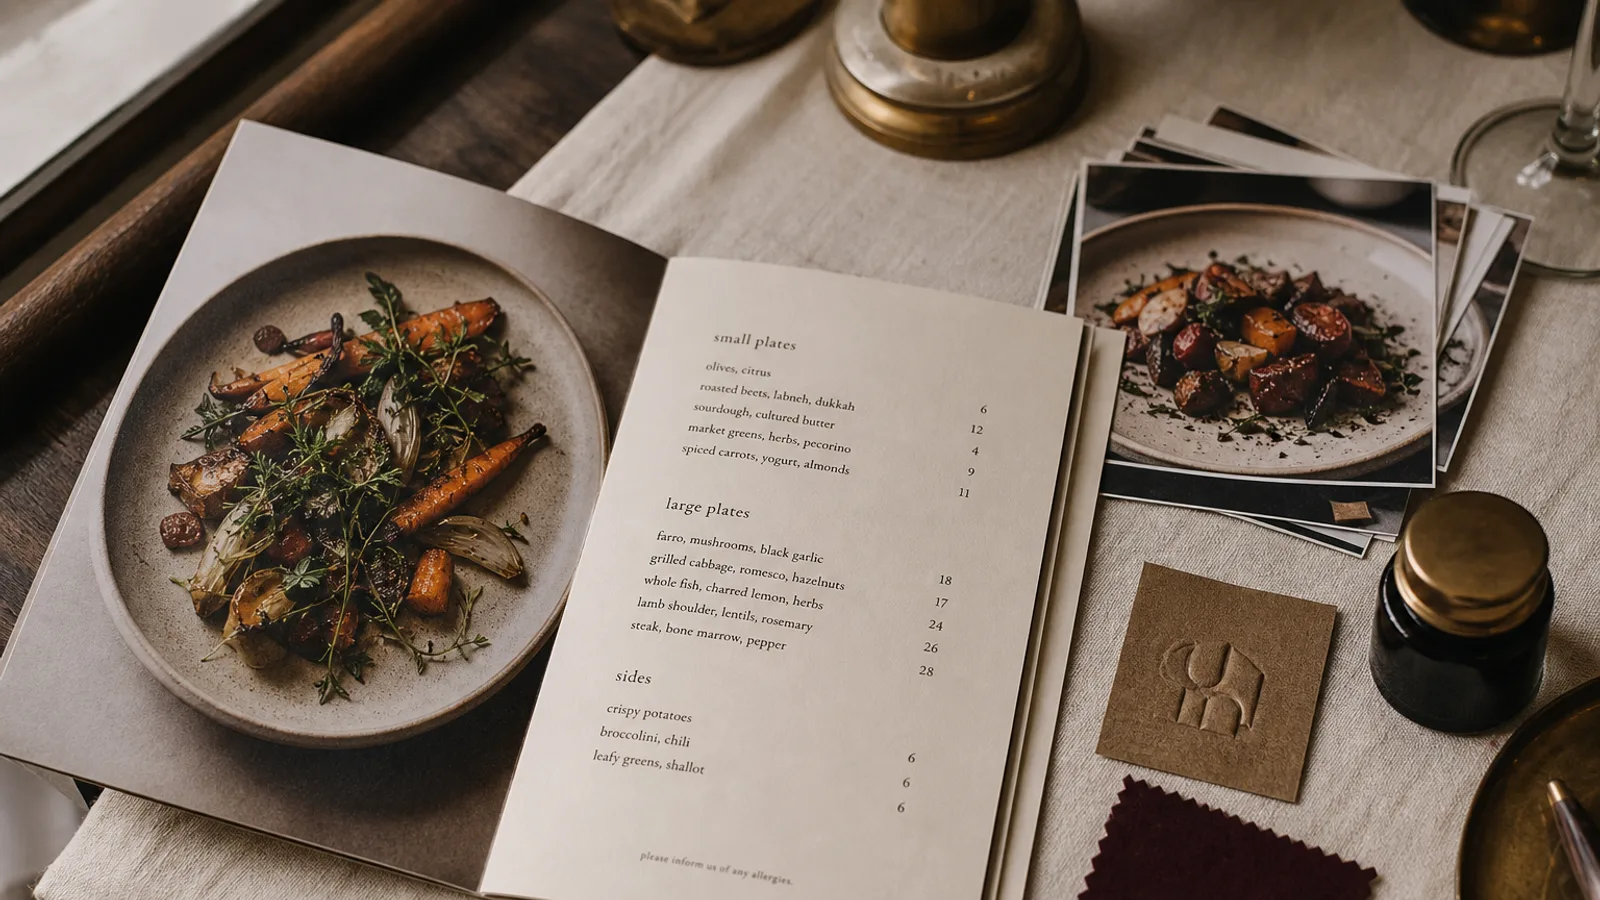
Most restaurants cannot justify 600 € to 1 200 € for a half-day food shoot every time the menu changes. The good news is that a phone from the last four years can produce images that hold up at 100 mm wide on a 350 g board, provided you control four things: light, angle, background and export. This is the routine I ask owners to follow when they shoot their own dishes, and the checks I run on the files before they go to print.
Light: one window, no flash, mid-morning
Everything else is secondary. Restaurant lighting is warm, dim and comes from above, which is flattering for guests and terrible for food. Shoot near a large window between 9 and 11 in the morning, or in the late afternoon if your windows face west, with the phone flash switched off and the room lights off too if they are tungsten.
Place the plate so the window is to one side, not behind you. Side light gives shape to a piece of meat and texture to a crust; frontal light flattens everything into a pancake. If the shadow side is too dark, hold a sheet of white paper or a menu card opposite the window, about 30 cm from the plate, to bounce light back. That single sheet of A3 is the most useful piece of equipment you will ever own.
Angle: pick one and keep it
There are two angles that work on a menu: straight down at 90 degrees, and roughly 45 degrees from the table. Top-down suits flat food such as pizza, tarts, salads and anything in a bowl. The 45-degree angle suits food with height: a burger, a stack of pancakes, a glass of dessert. Anything in between looks like an accident.
Whatever you choose, use the same angle for every dish on the card. A menu with six photos at six angles looks like six different people took them, which is exactly what guests conclude about the kitchen.
Background and props: less than you think
The photo will be printed at 40 to 100 mm wide. At that size, a busy background eats the dish. Use one of your own tables if the surface is honest wood, stone or plain linen; otherwise a sheet of matte grey or off-white card from a stationery shop works better than any prop. Keep cutlery, glasses and hands out of the frame unless they are part of the story.
Plate the dish exactly as it will be served. The garnish in the photo is a contract with the guest; an extra sprig of herbs or a drizzle you never actually do will come back to you at the table.
Camera settings that matter
- Wipe the lens. Kitchen air leaves a film of fat that softens every shot; a clean cloth fixes half of all blurry food photos.
- Use the main 1x lens, not the ultra-wide and not the digital zoom. The ultra-wide bends plates into ovals and the zoom throws away pixels you need for print.
- Switch off portrait mode. Its fake blur cuts through rims and garnishes and looks cheap in print.
- Tap the dish to focus, then drag the exposure slider down slightly so the whites of the plate are not blown out. Detail you lose in highlights cannot be recovered.
- Shoot in the highest quality your phone offers, ideally RAW or ProRAW if available. A 12 megapixel JPEG is still enough for menu use; a 2 megapixel one sent through a messaging app is not.
- Take at least eight frames per dish, moving slightly between them. Choose later on a screen, not on the phone.
Editing: restrain yourself
A phone editor is enough. Straighten the horizon, crop to a square or 4:5 so the framing is identical across dishes, then nudge brightness up a little and warmth down a touch to counteract the orange cast of most rooms. Increase contrast slightly. Stop before saturation; over-saturated tomatoes look radioactive on coated board.
Do not apply filters. A filter that looks charming on a screen at 6 inches becomes a colour cast across the whole menu when printed, and it will fight your brand colours.
Export and delivery: where most photos die
The single most common failure is a beautiful photo sent through WhatsApp or pasted into an email, which compresses it to around 1 000 pixels wide. That is enough for a 85 mm image at 300 dpi and not a pixel more. Send originals through a file transfer service, a shared drive or a cable.
For print, a photo needs 300 dpi at its final printed size. A 100 mm wide image therefore needs at least 1 180 pixels across; a full A5 bleed needs about 1 800 by 2 500. Any recent phone exceeds this comfortably as long as you export the full-resolution file. Convert to CMYK using Fogra39 or ISO Coated v2 only at the end, in the layout software, and check the reds and greens after conversion; those are the two colours that shift most.
- Original file, not a screenshot or a messaging-app copy.
- Long side at least 3 000 pixels.
- Same crop ratio for every dish.
- No filter, no portrait blur, no watermark.
- One folder per menu version, named by dish, so nobody prints last season's photo of the risotto.
A morning's work that lasts a season
Block two hours on a quiet weekday morning, shoot every dish you might ever photograph in one session with the same light and angle, and you have a coherent library for the whole season. When the menu changes, you reshoot two dishes in the same spot and they match. In Menu Atelier you upload a photo per dish and the layout adjusts around it; you can also see the card in 3D under a simulated table light to judge whether the images are still readable at the size you have chosen before spending anything on printing.